
The epitome of versatility, this assessment has endless possibilities
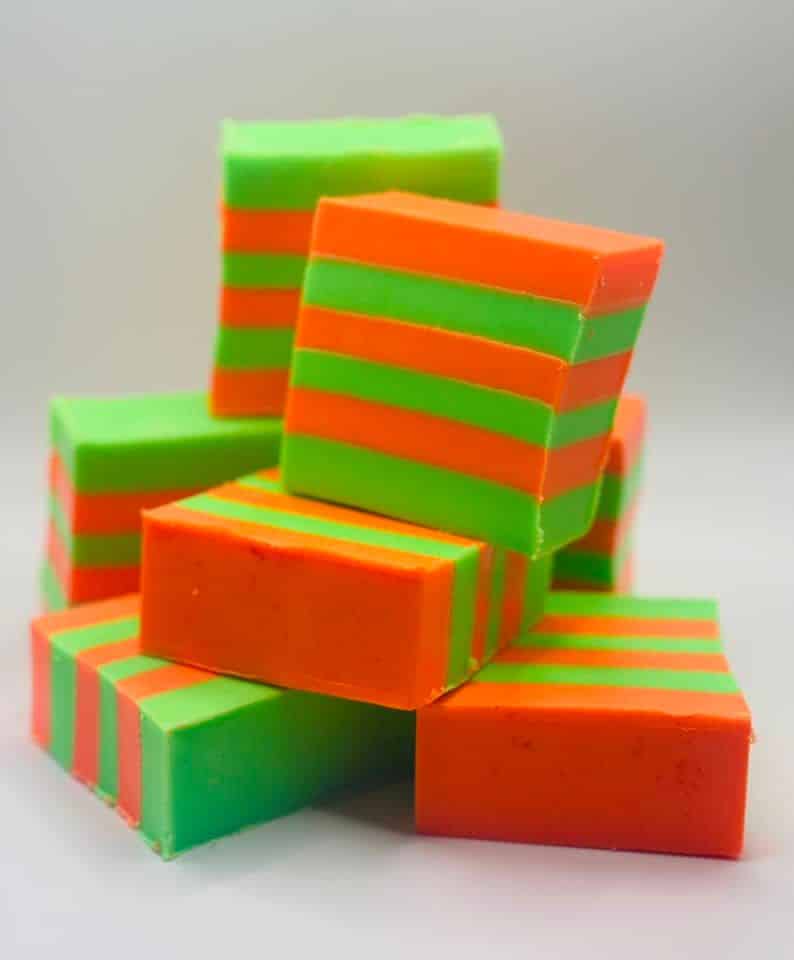
Our melt and pour assessment is probably our most versatile option to date. With this one purchase you are able to create products such as bars of soap, soap sponges, soap on a rope and more. By using a range of fragrances, pigments and micas, you never have to make the same creation twice, if you don’t want to!
See below for a range of melt and pour tips including Jay Rochford’s advice, what Soakies have to say, the best tools for your process and some creative inspiration.
Jay’s Advice:
- Don’t heat the base too hot. It can cause cloudiness or fragrance to evaporate faster.
- Soaps can be packaged as soon as they have set. Leaving them too long to package can attract moisture and give them a sweaty appearance. But all is not lost, as this moisture can be wiped off.
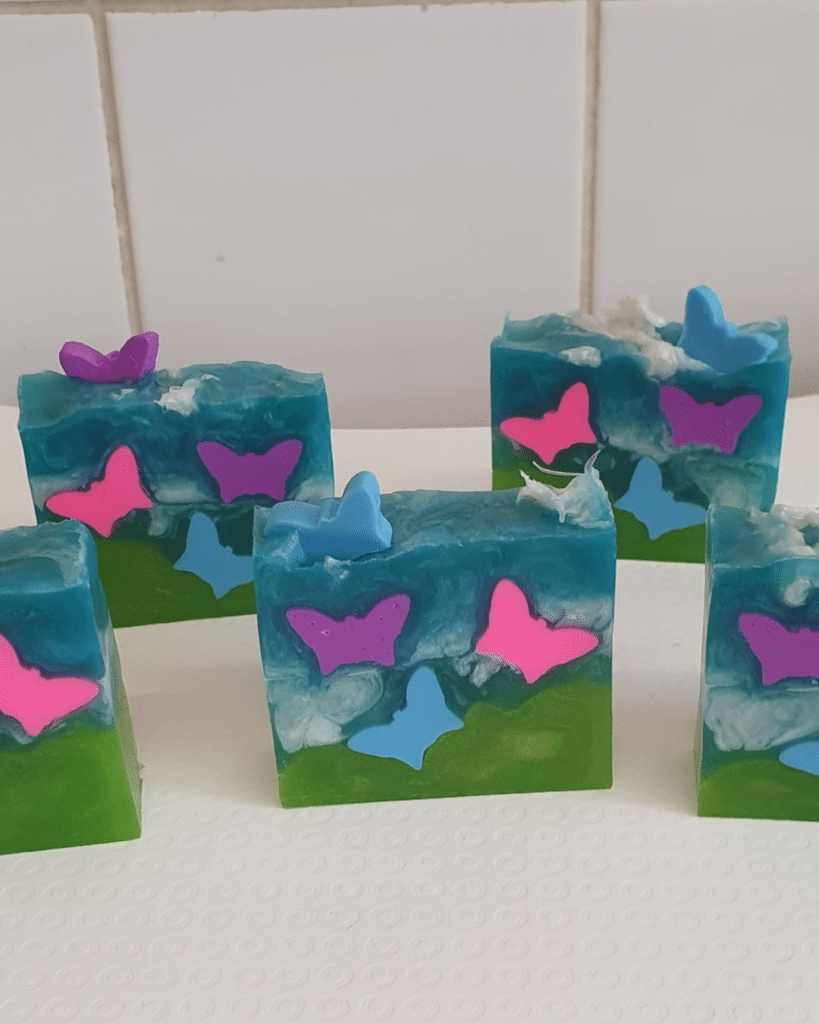
- If you are using a soap loaf mould, maybe add embeds to the soap then don’t pour the soap too hot else it will melt the embeds inside giving a less crisp finish when sliced.
What Soakies Say:
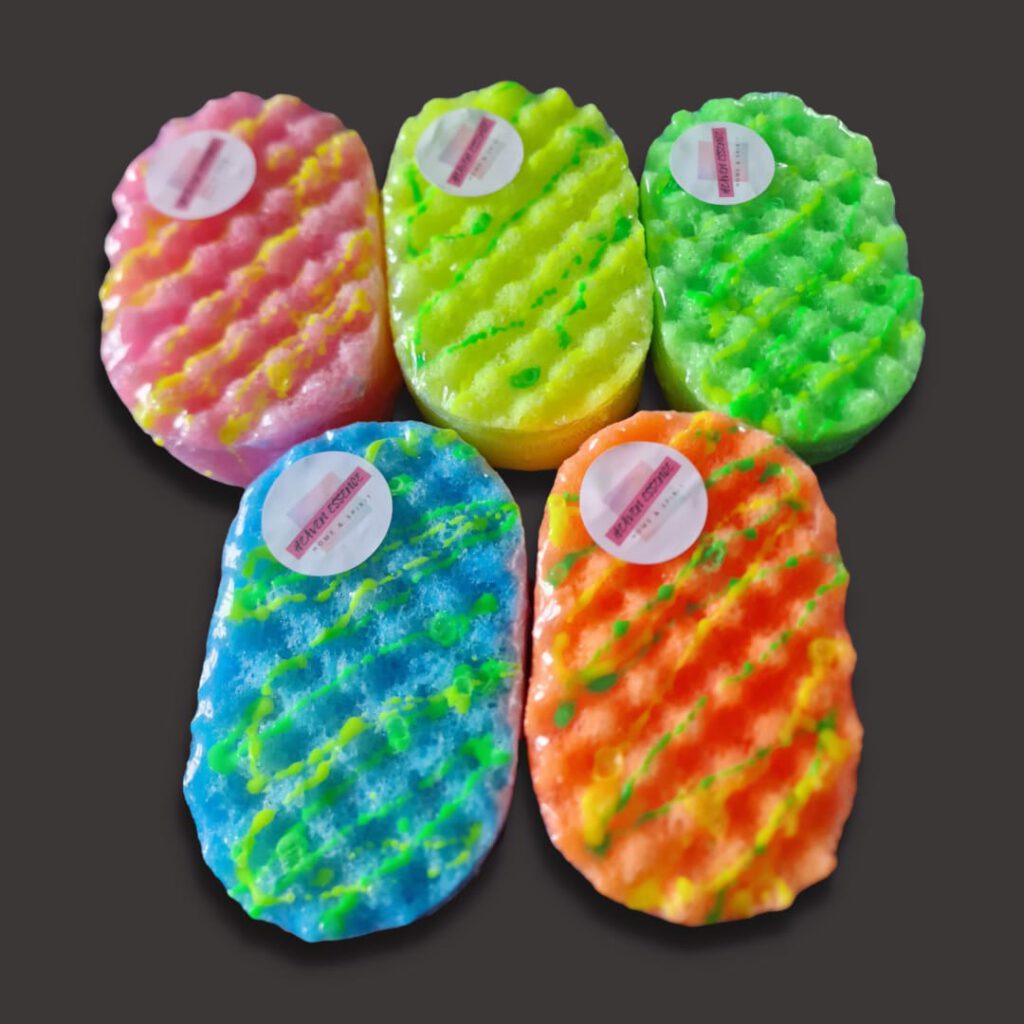
- Paperwork is really easy to understand – I mainly make soap sponges from my assessment which are so fun to make and very popular! You can also make bars of soap including massage bars, it’s very therapeutic!
- I’m new to melt and pour but oh my goodness why didn’t I get this earlier. It’s amazing. Love the colour combinations and scents just something for everyone. The assessment allows you to also make sponges, rope and other items to infuse the soap giving you more products to add to your sale list!
- These are great to make but time is valuable. Don’t ever rush your products as that’s where mistakes happen.
The Best Tools:
- Massage Sponges: Add another product to your range and create fun and effective soap sponges with your melt and pour assessment. They can last for weeks at a time and their range of colours and fragrances always make these a customer favourite.
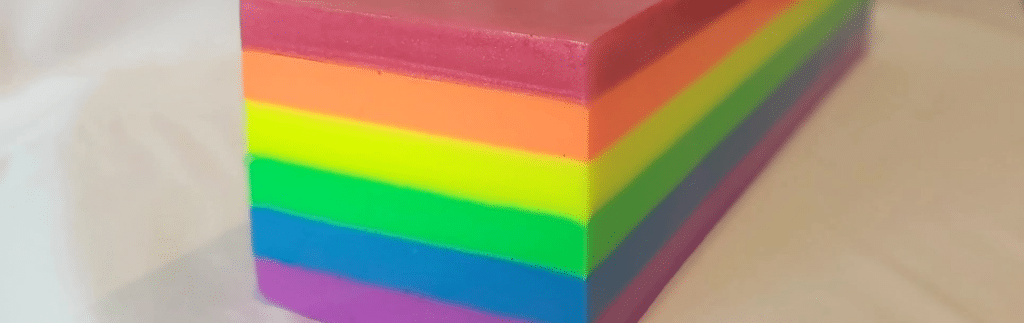
Some Inspiration: