


Once you’ve created your perfect mixture, it’s time to tackle the mould
One part of the cosmetic creation process that can make or break the perfect bath bomb is how you pack the mould with your mixture.
Get it right, and you’ll have perfectly shaped, smooth, and satisfying bath bombs. Get it wrong, and you may end up with crumbling or uneven bombs that just don’t hold together.
Let’s walk through the steps on how to expertly pack your bath bomb mould for the best results.
Prep the Mould
Your mould is just as important as the mixture. Whether you’re using metal, plastic, or silicone moulds, make sure they are clean and dry before starting.
Our 460+ LDPE moulds are an excellent choice for bath bomb making due to their flexibility, durability, and non-stick properties. They are also extremely durable, meaning the moulds can be reused multiple times without cracking or wearing down.
Filling and Forming the Mould
The key to a well-formed bath bomb is to overfill each half of the mould with mixture, mounding it up generously. You want the loose mixture to almost spill over the edges so that there’s enough material to pack tightly when the two halves are pressed together.
Then, gently but firmly press the halves together to compact the mixture inside. Be careful not to twist the halves as this can create weak spots in the bomb.
Let the Bomb Rest in the Mould
Once you’ve packed the mould, allow the bath bomb to sit for a few minutes before attempting to remove it. This can help the mixture set and make it easier to release the bath bomb without damage.
For larger or more delicate bombs, some creators like to leave them in the mould overnight for extra firmness.
Gently Remove the Bath Bomb
When it’s time to remove your bath bomb, do so with care. Tap the outside gently with a pokey stick to loosen the bath bomb and then carefully lift one side of the mould and let gravity assist as you remove the other half.
If the bath bomb doesn’t come out easily, don’t force it – try tapping a little more or leaving it to set longer. Patience here can save you from accidentally cracking your creation.
Let the Bath Bomb Cure
After removing the bath bomb from the mould, place it in a safe, dry spot to cure. Ideally, bath bombs should sit for 24 to 48 hours to fully harden. During this time, keep them away from moisture or humidity as this can cause premature fizzing.
-
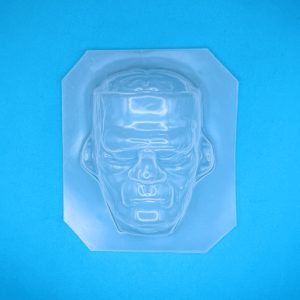
 Large Frankenstein’s Monster Mould
 -
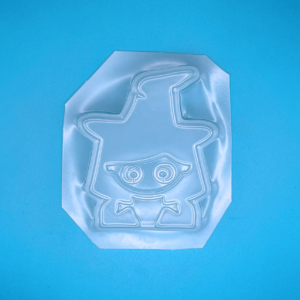 Cute Cartoon Witch Mould
 -
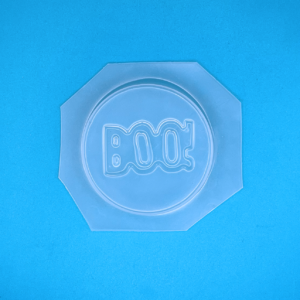 Round Boo! Halloween Mould
 -
 Small Frankenstein’s Monster Mould
 -
 #4 Soak Rochford Bath Bomb Assessment
 -
 Assessment Bath Bomb Ingredient Pack
 -
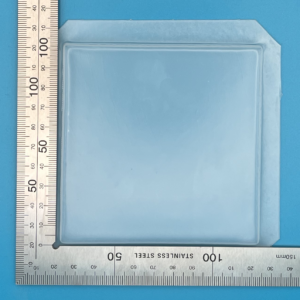
 Rainbow Embed Making Box
 -
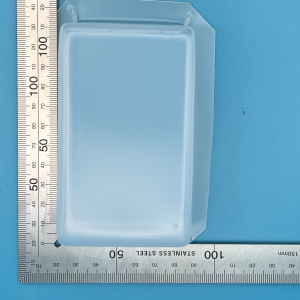
 10cm Tile Bath Bomb Embed Tray Plastic Mould
 -
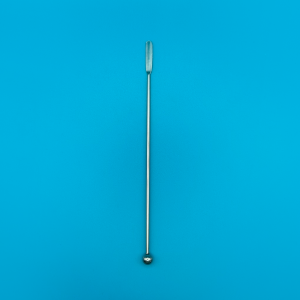 “Pokey Stick” Reusable Stainless Steel Tool