If you’re wondering how to make liquid soap at home instead of buying it from the shop, then you’ve come to the right place! Soak Rochford are specialists in everything soap, bath bombs, butters and more! In this blog, we’ll take you through exactly how you can make your own liquid soap at home, and how easy it is using our liquid soap kits.
Why Make Liquid Soap at Home?
There are many reasons why you would choose to make liquid soap at home, some people want to pick up a new hobby, some people are naturally crafty and want to give it a go, and others are looking to start their own soap making business, but here are some of the other benefits you get from making your own soap at home, as opposed to buying it at the shop.
- Cleaner ingredients: Making your own soap gives you complete control over the ingredients that go in, so you can make sure there are no irritants or harsh chemicals.
- More creativity: By controlling what goes into your liquid soap, you can play around with exactly what scents and oils get added, so you really turn each batch of soap into exactly what you envision.
- Environmental benefits: When you make soap at home, you naturally use a lot less packaging than the single-use plastic from big supermarkets. Think reusable containers, no transportation emissions and biodegradable ingredients!
Since there are lots of benefits to the liquid soap making process over store-bought soap, you might be wondering whether homemade liquid soap is actually better or not. In many ways, it is. If you are concerned about the ingredients and environmental impacts of store-bought soap, then it’s better to go homemade. However, if you are just after cheap convenience, then you might not receive the full benefits of making your own soap at home.
How To Make Liquid Soap at Home
To begin, you’ll need all the ingredients to make liquid soap at home. You can use a soap making kit from Soak Rochford, which will give you everything you need, all in a handy pack ready to go. In this step-by-step guide, we’ll be walking you through the process of how to make liquid soap at home using one of our kits.
1. Prepare your workspace
- Cover your table with newspaper or a wipeable cloth.
- Put on the gloves provided.
- Have some warm water ready (not boiling).
2. Measure your base
- Using the clear plastic jug, pour in your desired amount of Liquid Crystal concentrate (this forms the main soap base).
- The kit gives you 250ml, so you can split it into two 125ml batches if you want to make two different soaps.
3. Add the secondary surfactant
- Measure out an equal amount of Cocamidopropyl Betaine (it thickens the soap and adds foam).
- Add it slowly into the jug with the concentrate while stirring with a wooden stirrer.
- Mix gently until combined.
4. Dilute with water
- Add warm water (typically about 100–150ml per 125ml of concentrate, but follow the proportions in your kit’s guide).
- Stir slowly to avoid creating too many bubbles.
- The mixture should start looking like a proper liquid soap consistency.
5. Add colour (optional)
- Choose one of the water-soluble dyes.
- Add just a drop or two to start, stir, and check the colour intensity.
- Keep adding tiny amounts until you’re happy with the shade.
6. Add fragrance
- Pick one of the fragrance oils.
- Add a few drops (usually around 5–10 drops per 100ml of soap).
- Stir gently until fully mixed.
7. Bottle your soap
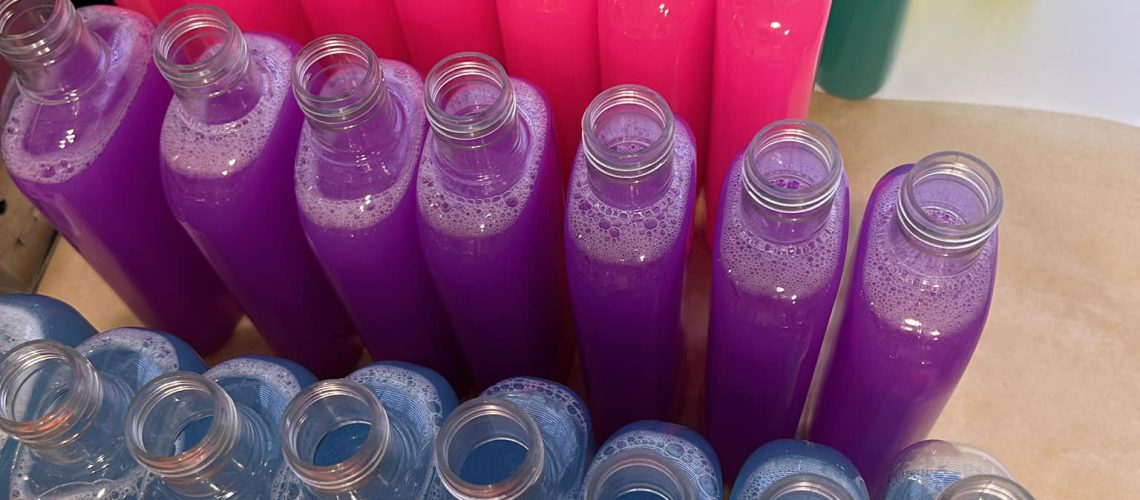
- Carefully pour your finished liquid soap into one of the provided oval bottles with a pump or round bottles with lids.
- Use the pump bottles if you’re making hand wash or shower gel, and the round bottles if you’re making bubble bath or shampoo.
8. Label & enjoy
- You can make notes about which colour and fragrance you used on a little label, and even come up with your own names for each soap you make.
- That’s it, now your soap is ready to use!
Ready to try it yourself? With the Soak Rochford Liquid Soap Kit, all the ingredients to make liquid soap are in the box – just mix, colour, scent, and enjoy your own liquid soaps. Perfect for beginners, small businesses, or even as a thoughtful gift.
Order your Liquid Soap Kit today and start making beautiful soaps at home!
Tips for Perfecting Homemade Liquid Soap
There are a couple of beginner mistakes that you need to avoid if you want to perfect your liquid soap making process the first time around!
Why Is My Liquid Soap Cloudy or Too Thick?
If your liquid soap looks cloudy or turns out thicker than you’d like, don’t worry, it’s a common beginner hiccup. Cloudiness usually happens when the ingredients haven’t been mixed in fully, so the soap looks a little uneven.
Sometimes the soap feels too thick if a bit too much of the foaming liquid is added, or if the mixture has been made in a colder room where it naturally thickens. The good news is it’s easy to fix: just stir the soap slowly until smooth, or add a splash of warm water to bring it back to the right texture.
Do I Need a Preservative?
Liquid soap made directly from our kit (with just base, betaine, dye, and fragrance) is generally stable on its own because the ingredients are pre-formulated for home use. However, if you:
- Add extra water beyond the guide’s recommendation,
- Include natural additives (like herbal infusions, honey, or fresh botanicals),
…then yes, you’ll need a preservative to stop bacteria and mould growth. So stick with the guide in our kit and you should be fine!
H2: Final Thoughts On Making Liquid Soap at Home
When you first start on your soap making journey, think of it as a fun experience and don’t take it too seriously. Make sure you have fun while doing it! If you follow the guide we’ve laid out, you’ll have the perfect liquid soap in no time.
Don’t forget, homemade liquid soap makes for a great gift idea to give out to family and friends!
[Explore Our Soap Making Kits]